A trade invalidation level is the price at which your reason for a trade stops being true. It is not simply where a stop order sits: it is the point where the market has shown the idea was wrong. Placing it well means using structure first, then checking the distance, and only then deciding position size.
What is invalidation, and how is it different from a stop?
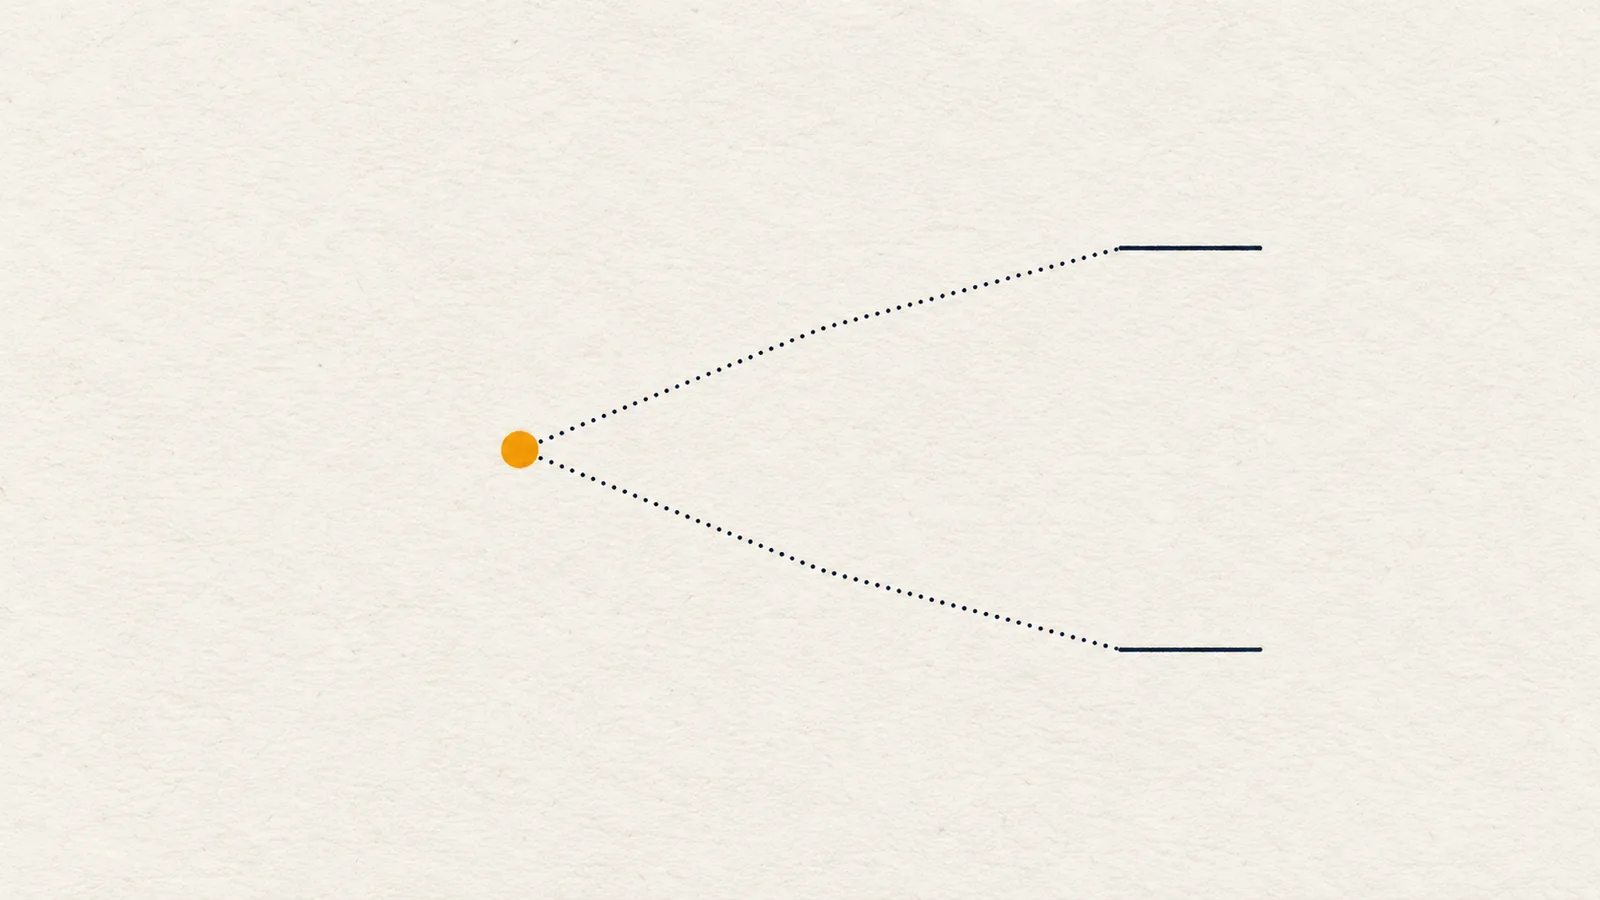
A stop is an order. Invalidation is a conclusion. You decide it before entering, by asking one question: what would the market have to do to prove this idea wrong?
For a bullish idea built on a higher low, the answer is "close beneath that low". For a bearish idea built on a lower high, it is "close above that high". The idea has a specific shape, so it has a specific price where that shape is broken.
Stops chosen by feel work differently. They tend to be placed at a round amount of loss, or a comfortable percentage, with no link to the chart. That kind of stop may be hit by noise while the idea is still intact, or may sit far beyond the point where the idea clearly failed. Starting from invalidation reverses the order: the chart tells you where you are wrong, and then your order and size follow.
What is the protecting swing?
In a trend, one swing point holds the structure together:
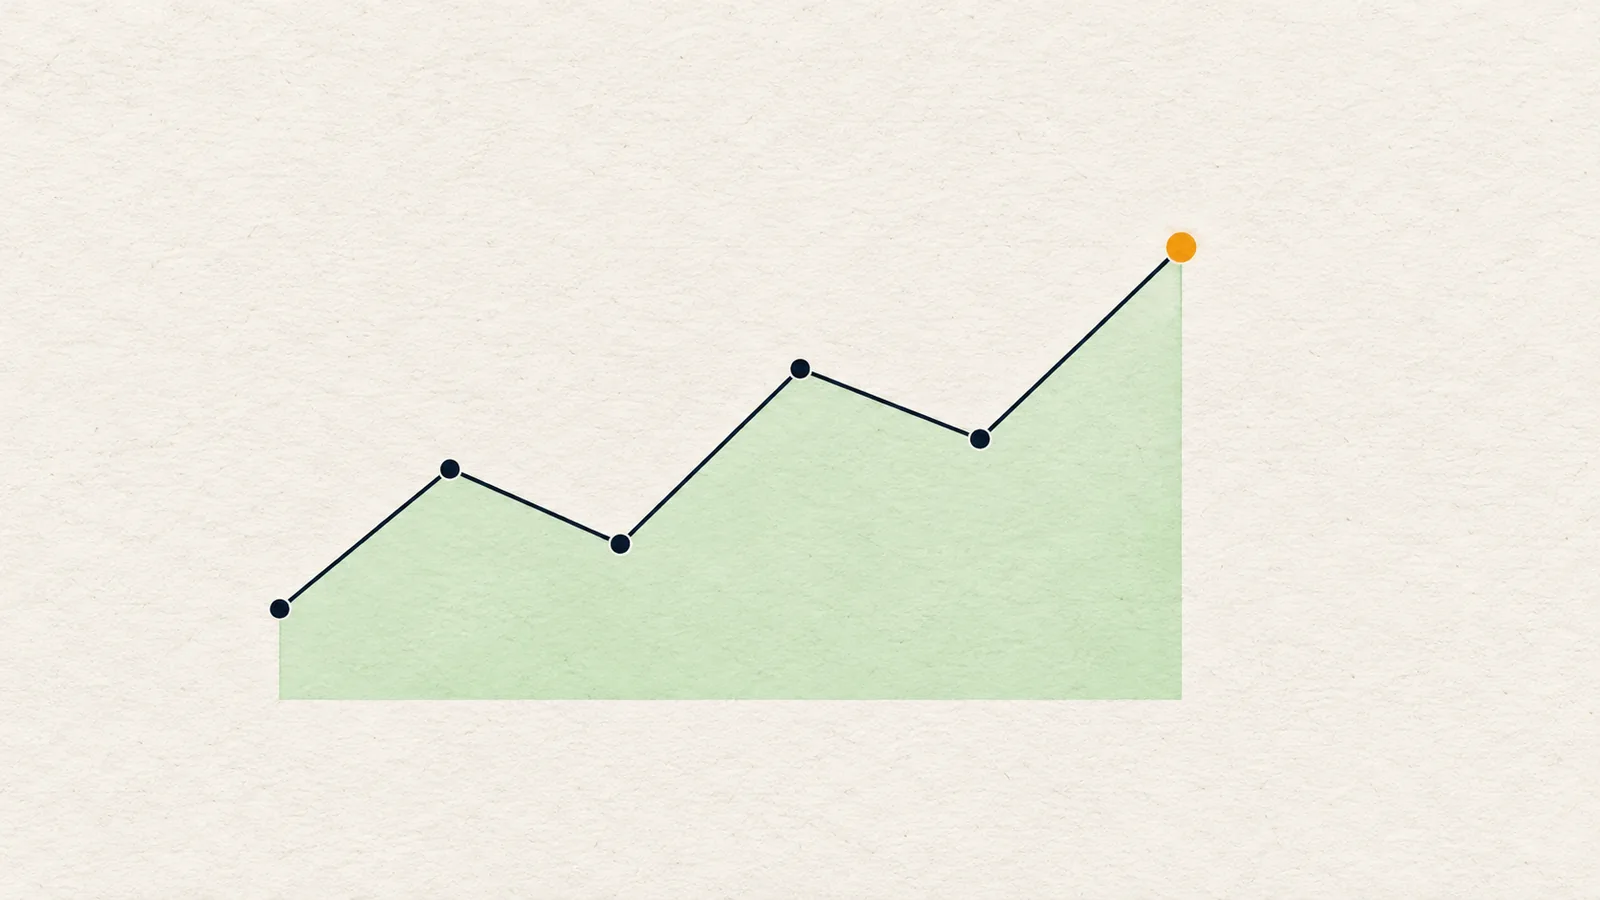
- In an uptrend (higher highs and higher lows), it is the most recent higher low (HL). As long as price keeps respecting it, the series of higher lows is intact.
- In a downtrend (lower highs and lower lows), it is the most recent lower high (LH). As long as price stays under it, the series of lower highs is intact.
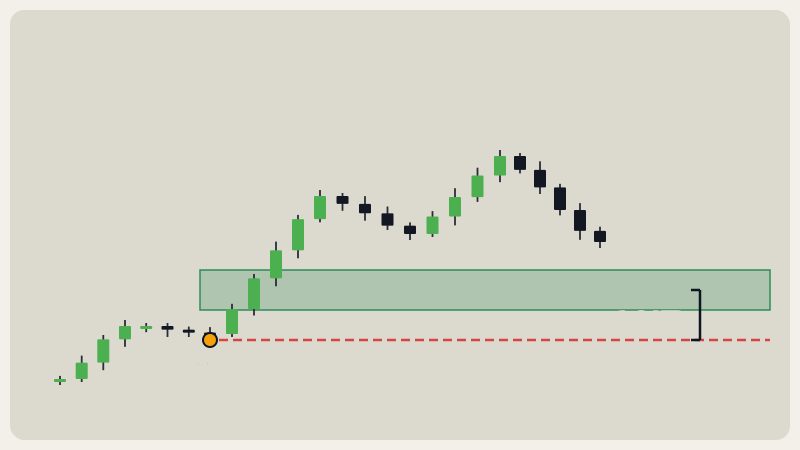
A swing point is a candle that has lower candles (for a high) or higher candles (for a low) on both sides. It is only confirmed a few candles later, so the protecting swing is always a swing that is already visible and settled. If you want to revisit how these are found, see market structure.
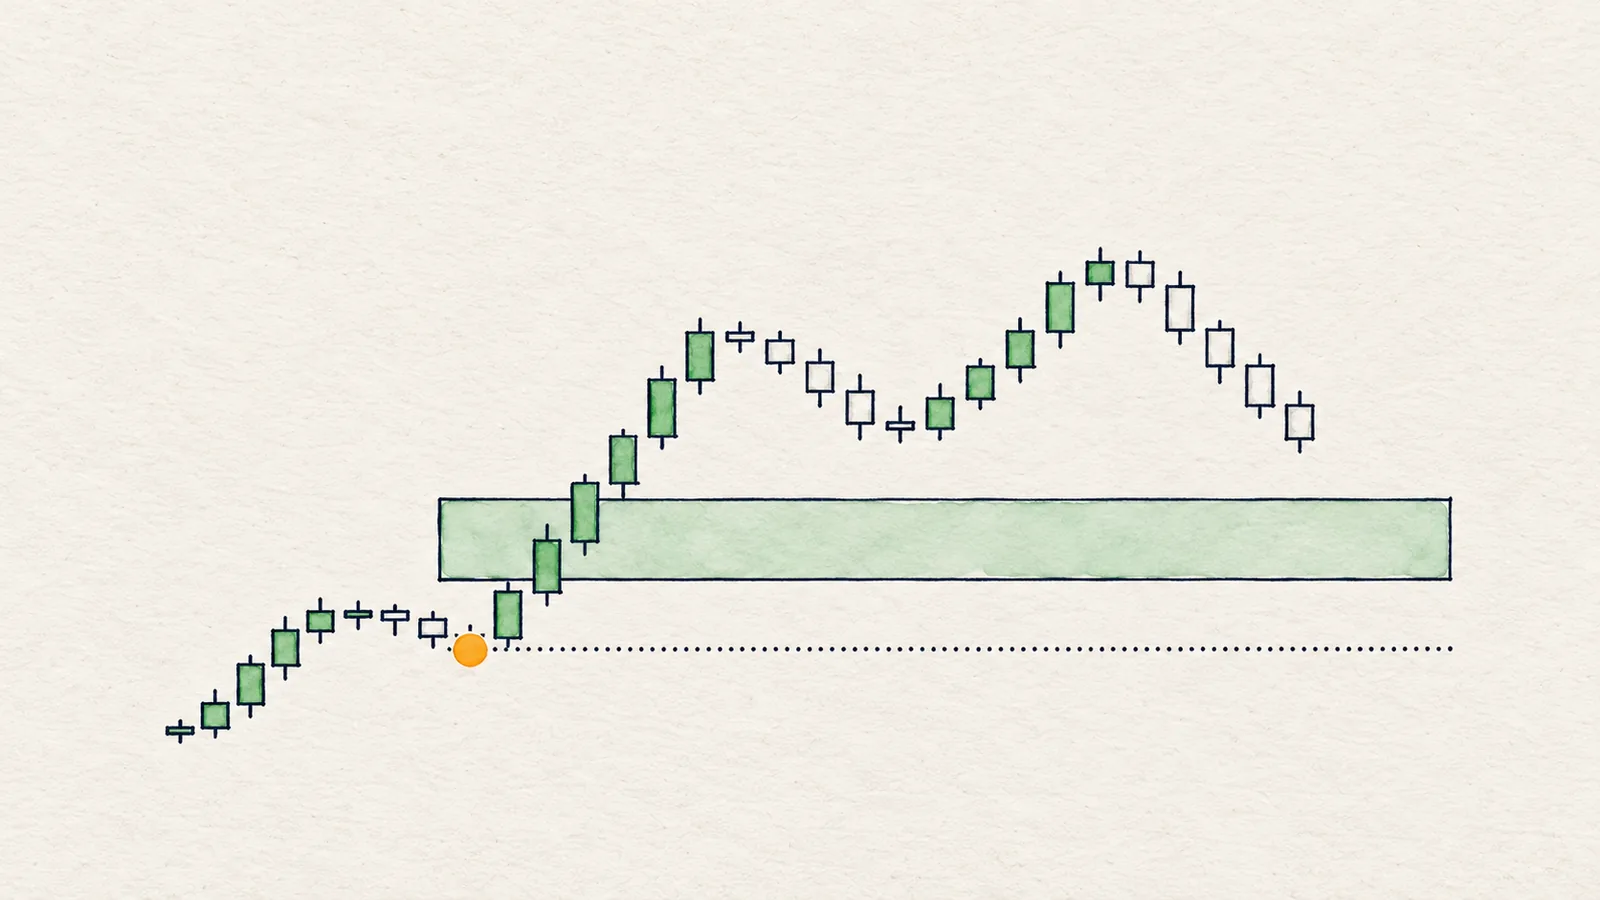
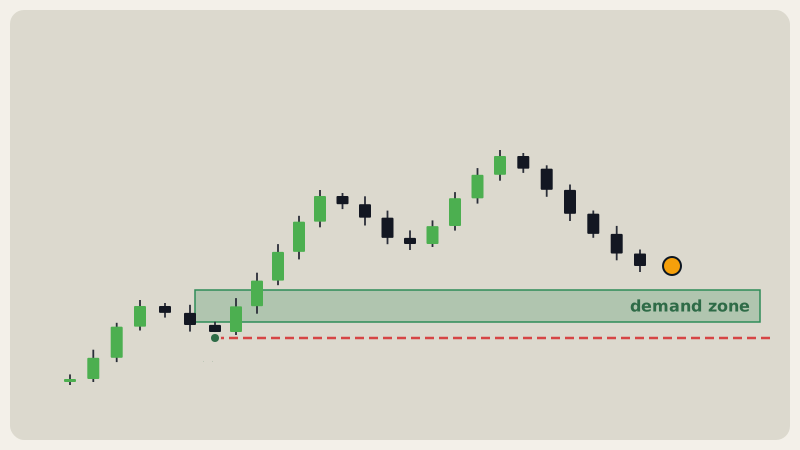
The same logic applies to a zone: the zone is where you expect price to react, and the protecting swing sits beyond it. If price trades through the zone and closes beyond the swing, the pullback idea has failed.
Why does distance matter?
Once you know the structural level, measure the distance from your planned entry. Two failure modes live at the extremes.
Too tight. Every market has a normal candle size. If your invalidation is closer than that, ordinary movement reaches it. You get stopped out, price then does exactly what you expected, and you have been right and lost anyway. ATR (average true range, a candle's typical size) gives a coin-independent yardstick for this. A distance under 1 ATR is within a single typical candle.
Too far. A level many ATRs away may be structurally honest, but the loss per unit is large. Either the position has to shrink until the trade is barely worth taking, or the idea simply does not fit your plan. Beyond a certain distance, the answer is "skip this setup", not "stretch the stop".
Chart Radars works with a window of 1 to 6 ATR between entry and the protecting swing. The lower bound has a reason worth stating plainly: closer stops looked better in our own tests only when the tests assumed optimistic fills, meaning entries and exits at the exact price you wanted. Real fills slip, especially in fast candles, and a stop that survives only in a simulation is not a stop you can use.
Why use a close and not a wick?
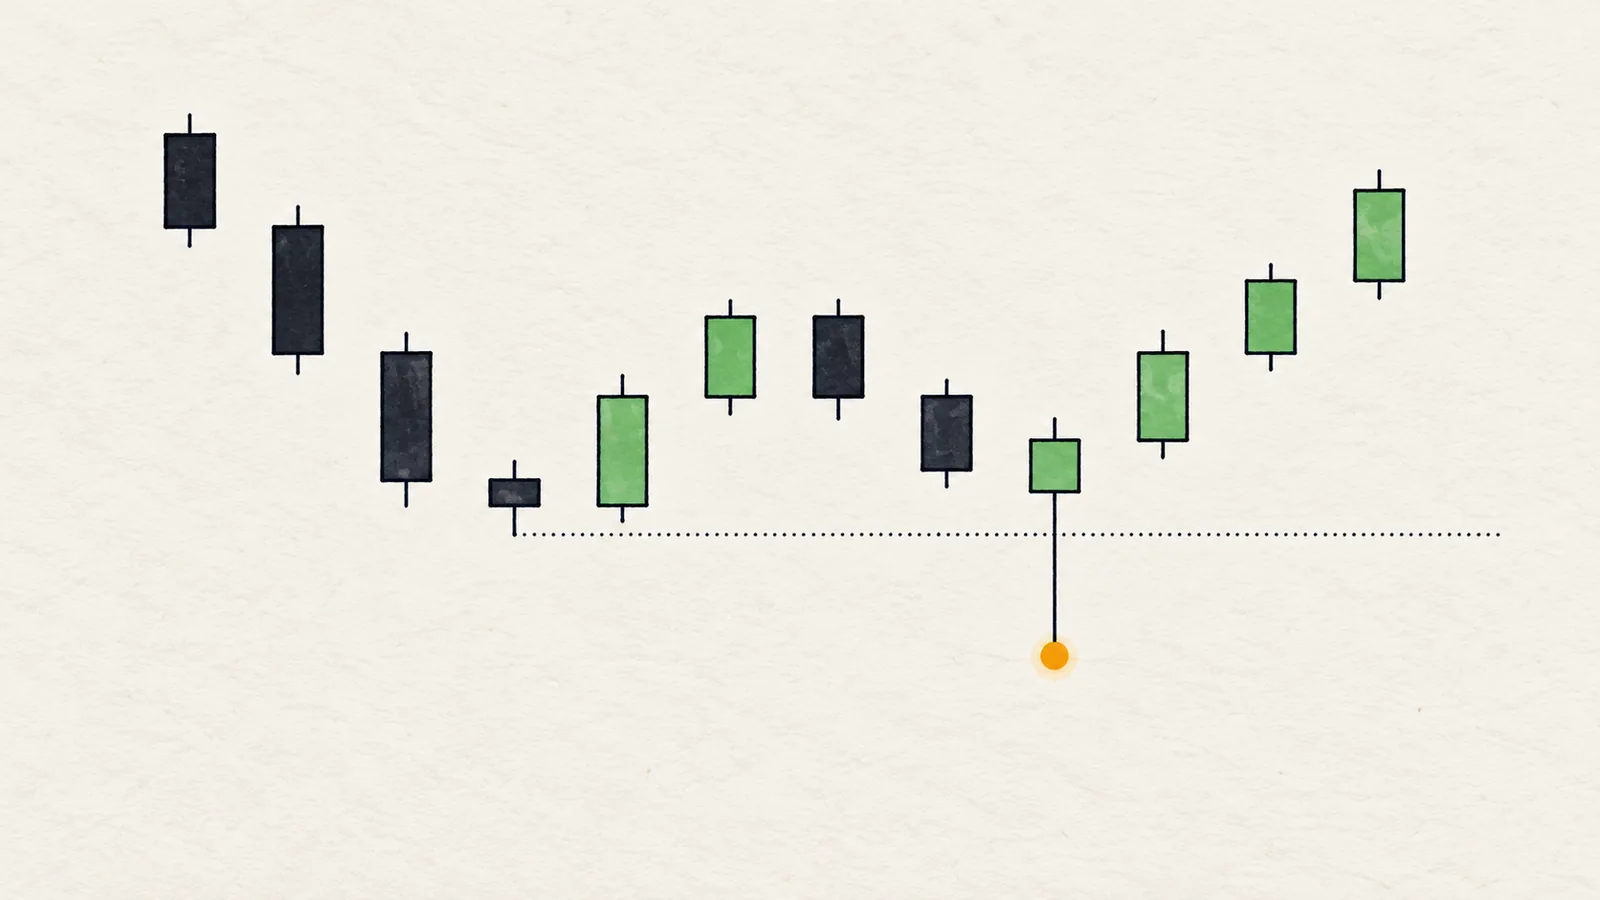
A wick is a fast excursion that came back. A candle close is the market's decision at the end of the period. If a wick pokes through a level and the candle closes back inside, that is the pattern of a liquidity sweep, and it often does not mean the idea failed.
So many plans define invalidation as "a candle close beyond the level on the chosen timeframe". That filters out sweeps. It also has costs:
- A close is only known when the candle ends, so you exit later than a touch-based stop would.
- In a violent move, price can be far beyond the level by the time the candle closes. The loss can be larger than the distance you planned.
- It needs discipline. A close-based rule works only if you really act when the candle closes.
Some traders use a touch-based stop order for safety and a close-based rule for the idea. These are two separate decisions: one protects the account from a gap, the other says when the thesis is dead. Know which one you are using.
How does position size follow the invalidation distance?
This is plain arithmetic. It does not tell you how much to risk; that is a personal decision about your own account.
The relationship is:
position size = amount you accept to lose ÷ distance to invalidation
A made-up example with round numbers. Say you have decided, in advance, that being wrong on this idea costs 50 units of account currency.
- If invalidation is 5 price units below entry, the position is 10 units of the coin (50 ÷ 5).
- If invalidation is 10 price units below entry, the position is 5 units (50 ÷ 10).
Same idea, same loss if wrong, half the size when the invalidation is twice as far. That is why distance and size cannot be separated: a wider invalidation does not make a trade riskier by itself, it makes the position smaller. And it is why you place invalidation first and compute size afterward, never the reverse. Picking a size first and then squeezing the stop to fit it is the usual way to end up with a stop inside the noise.
What does it look like on real charts?
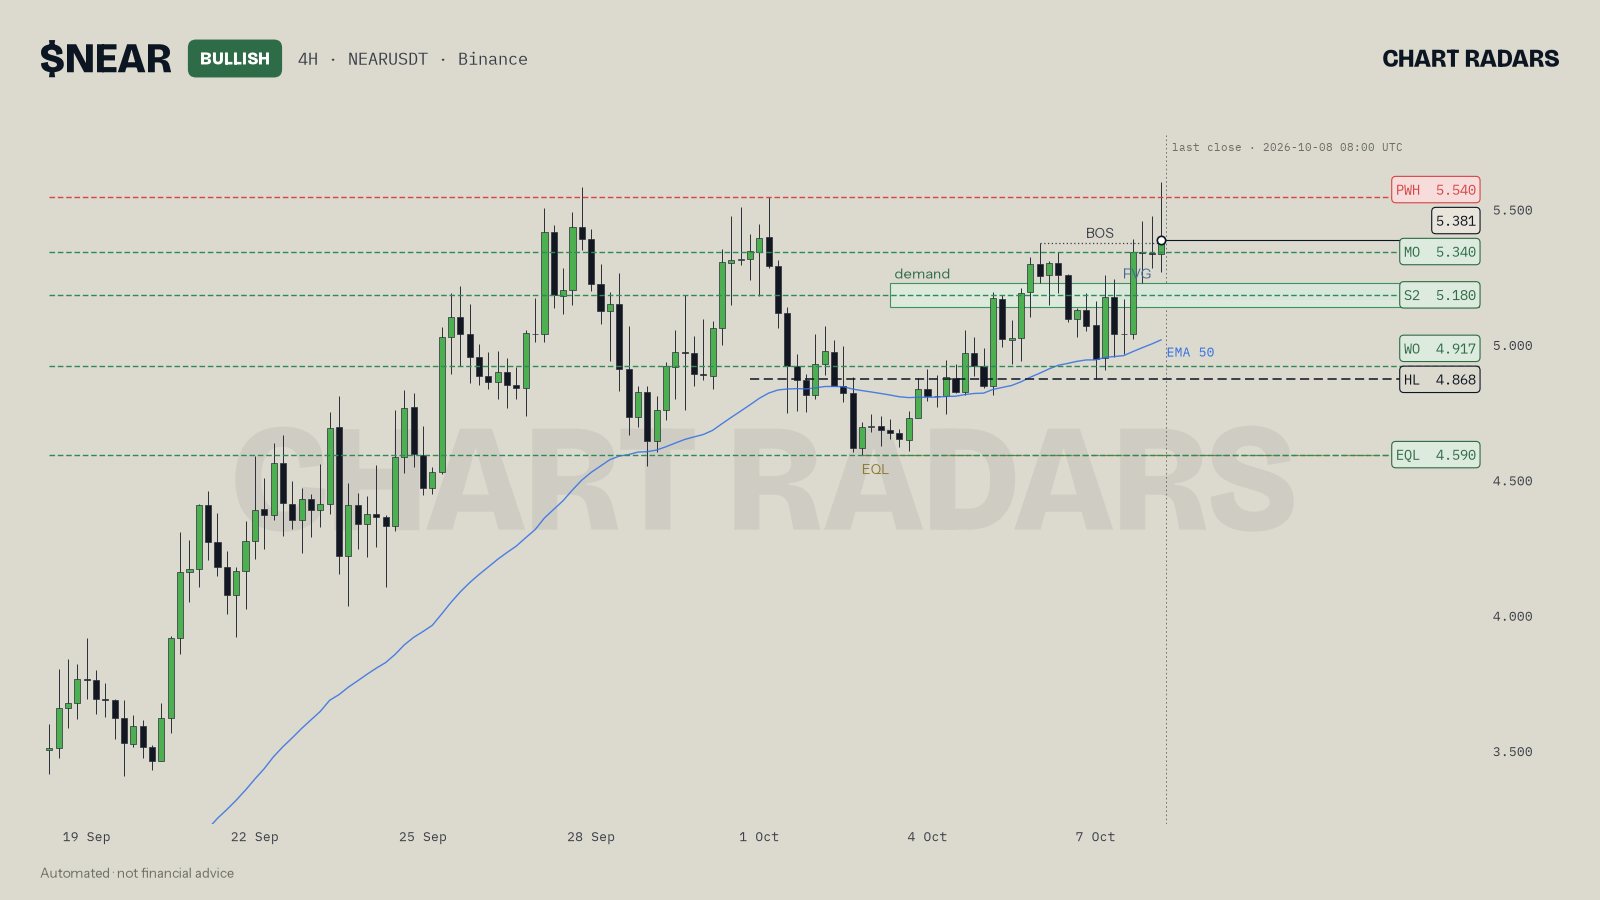
NEAR 4H, close of 8 Oct 2026. The chart marks the last higher low (HL) at 4.868 with a dashed line, and the read states invalidation as a 4H close below 4.868. Price closed at 5.381, so that level is about 9.5% below the last close (our arithmetic); the planned entry area in the read is a pullback into 5.135–5.225, which is much closer. A close beneath the higher low would break the bullish structure the read is built on.
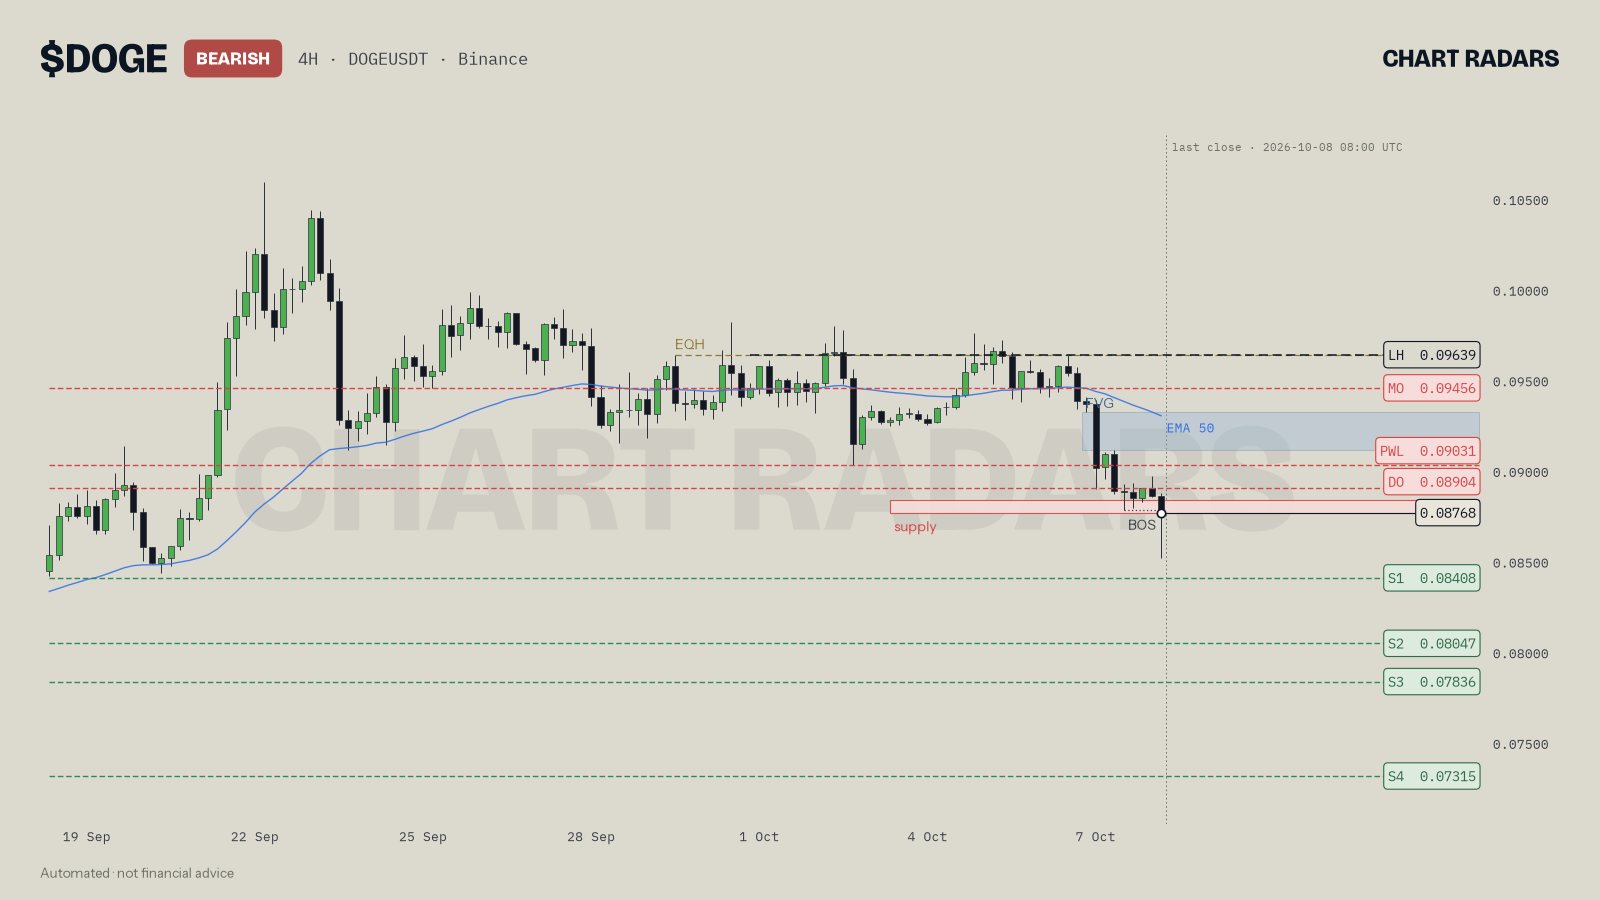
DOGE 4H, close of 8 Oct 2026. The mirror image: the dashed line is the last lower high (LH) at 0.09639, and the read's invalidation is a 4H close above it. That is about 9.9% above the last close of 0.08768 (our arithmetic), which sits inside a supply zone at 0.08765–0.08835. The plan is conditional: it holds only as long as 0.09639 does. On this timeframe the closing rule matters, because a wick above the line that closes back under it would not cancel the read.
How do you set invalidation step by step?
- Name the idea in one sentence ("higher low holds, price pushes to the weekly high").
- Find the swing that idea depends on: the protecting HL or LH.
- Place the level just beyond it, and decide whether it is a close or a touch.
- Measure the distance from your planned entry in ATR or in price units.
- If it is too tight, the idea may need a better entry; if too far, consider skipping it.
- Only then compute the position size from the amount you accept to lose.
For the full plan around it, including triggers and targets, read trading scenarios and invalidation.
In Chart Radars: the invalidation in a read that leans one way is the protecting swing: the nearest confirmed higher low in a bullish read, or lower high in a bearish one. It must be at least 1 ATR and at most 6 ATR from the entry, and a close beyond it cancels the scenario. The lower limit exists because tighter stops looked good in our own testing only with optimistic fills. Swings are confirmed by 3 candles on each side, so they appear 3 candles late.
Honest note: a well-placed invalidation does not make a trade win. It makes being wrong small and known. Close-based levels can also cost more than planned in fast markets, and an invalidation that is simply too far to size sensibly is a reason to pass on the trade. Chart Radars is an automated reader, not advice, and nothing here says how much anyone should risk.
Key takeaways
- Invalidation is the price that proves your idea wrong; a stop is only the order that acts on it.
- Anchor it to the protecting swing: the last higher low in an uptrend, the last lower high in a downtrend.
- Keep a sensible distance: too tight sits in noise, too far makes the trade impractical. Chart Radars uses 1 to 6 ATR.
- Prefer a close over a wick when you want to filter sweeps, and accept that it exits later.
- Position size is amount accepted to lose divided by invalidation distance, so decide the level first and the size second.
Frequently asked questions
What is an invalidation level in trading?
It is the price at which your trade idea is shown to be wrong, not just a place where a stop order happens to sit. If a candle closes beyond it, the reason you planned the trade no longer holds.
Where should I place my invalidation?
Beyond the swing that protects the structure: the last higher low in an uptrend or the last lower high in a downtrend. Put it where being wrong is obvious, then size the position to that distance.
Is a tighter stop always better?
No. A very tight stop sits inside normal noise and gets hit often. Tight stops can also look good in tests that assume perfect fills, which real markets rarely give.
Should invalidation be a wick or a candle close?
Many plans use a close beyond the level, because a wick can pierce a level and return, which is how sweeps work. The tradeoff is that a close is later, so a fast move can cost more than planned.
How does invalidation affect position size?
Position size equals the amount you accept losing divided by the distance to invalidation. A wider invalidation means a smaller position for the same loss. This is arithmetic, not advice on how much to risk.